

Learning how to fix a broken zipper can save your favorite jacket from ending up in the trash. We’re in our ‘repair and re-wear’ era, where fixing clothing instead of replacing it makes both financial and environmental sense.
Broken zippers might seem tricky to repair, but most problems stem from debris in the teeth or misaligned tracks. You might be dealing with a separating zipper fix, replacing zipper slider, or figuring out how to fix a coat zipper. The solutions are easier than you think.
This piece will walk you through how to fix a broken zipper on a jacket with quick repairs and step-by-step slider replacement. We’ll also share prevention tips to keep your zippers working smoothly.
Common Zipper Problems and What Causes Them
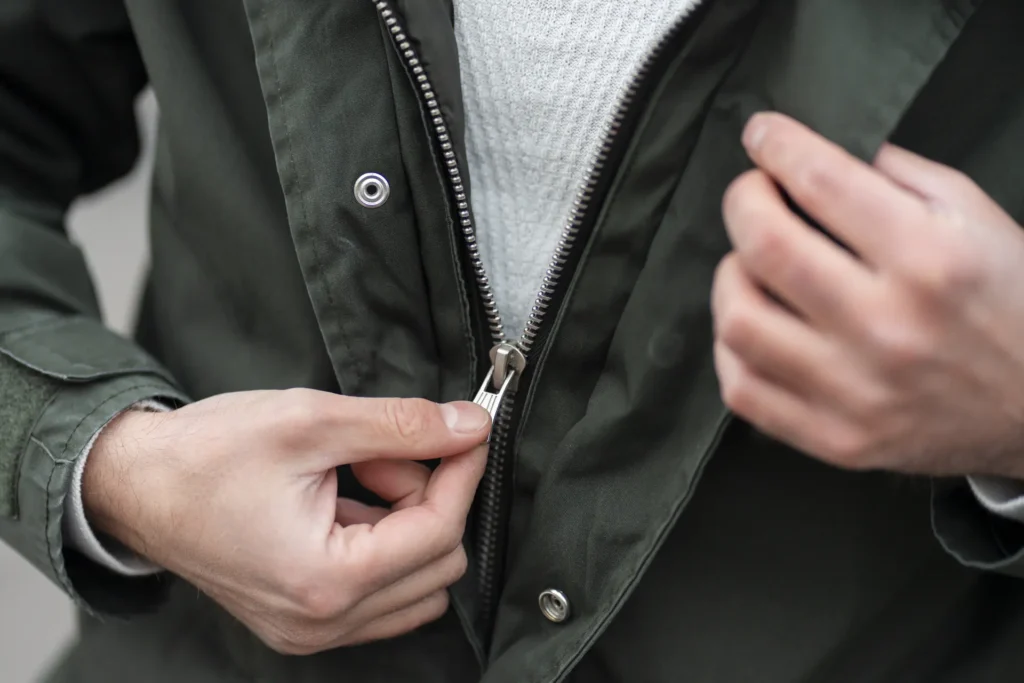
Understanding what goes wrong with zippers helps you diagnose problems faster and choose the right repair method. Most zipper failures fall into four categories, each with distinct causes.
-
Stuck or Jammed Zippers
A stuck zipper refuses to move up or down. It traps you inside your jacket or prevents you from closing it. The most common culprit is fabric from the garment that gets caught between the slider and teeth. You’ll often see a piece of lining or material wedged into the mechanism.
Dirt buildup creates another problem. Dust, lint and fabric particles accumulate on the teeth during regular use and create friction that prevents smooth operation. Metal-to-metal contact in zippers can become rough without proper maintenance and lead to increased wear. Sweat and general grime compound the issue. The teeth become sticky and resistant to movement.
-
Separating Zippers
Teeth that won’t close after you zip up signal a separating zipper. This frustrating issue occurs when you pull the slider to the top, but the two sides of the zipper don’t engage and leave gaps in your jacket or coat.
The main reason is a loose slider that has lost tension over time. The slider mechanism under the pull brings the teeth together, but wear and tear bends its inner parts. It becomes unable to apply enough pressure. So it stops clinching the zipper teeth.
Misaligned or bent teeth create the same problem. Individual teeth can bend from intensive use or if the zipper catches on something. Since the teeth no longer sit straight, they can’t interlock even when the slider passes over them.
-
Slider Off Track
The slider comes off and you’re dealing with a more severe problem. This happens when the top stop (the small piece at the zipper’s end) goes missing or breaks off. The slider slips right off the top of the zipper when you try to close it because this stop is no longer in place.
-
Zipper Won’t Stay Up
Pants zippers that slide down on their own cause embarrassing situations. The locking mechanism on the pull tab has a tiny finger that sets into the zipper teeth. This finger can’t grip the teeth when it gets pulled out of place or wears down. The slider then moves freely with any lateral pull on the fabric, which happens often with fitted pants or when you bend and move.
Quick Fixes for Common Zipper Issues
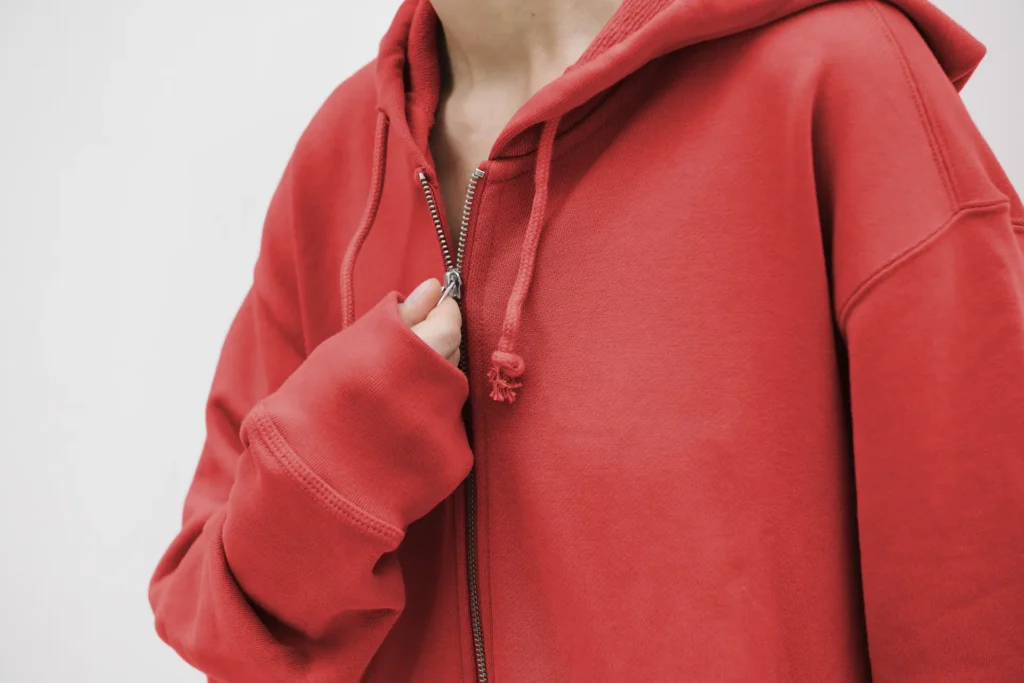
Most zipper problems don’t require professional help. Household items and simple tools can restore functionality and extend the life of your garments.
-
How to Fix a Stuck Zipper with Lubrication
You should clean the zipper before applying any lubricant. A toothbrush and soapy water will remove dirt and debris from the teeth. Rinse it really well and let it dry.
A graphite pencil works well to lubricate. The sharpened tip should be rubbed along the zipper teeth a few inches above and below the slider. The graphite deposits act as a dry lubricant. Bar soap contains fat that lubricates well too. You can rub it on the teeth and then move the slider up and down to distribute it.
Purpose-designed products like Zipper Ease are a great way to get the best results without staining fabric. Household alternatives like olive oil need just one or two drops near the stuck area. Food oils can spoil over time and create odors, so don’t use too much.
-
How to Fix a Separating Zipper with Pliers
Needle-nose pliers can squeeze the slider gently on the top and bottom plates. This tightens the gap that holds the teeth together. Minimal pressure should be applied, and you should check between each squeeze to avoid breaking the slider.
-
How to Reattach a Slider That Came Off Track
Pliers can remove teeth from the zipper end until you expose 2 to 3 inches of fabric. The new slider should be slid onto the fabric with proper orientation. Both fabric sides above the slider need to be tugged to create tension and move it toward the teeth until you hear a click.
-
How to Stop a Zipper from Sliding Down
A small key ring can be looped through the slider’s hole and hooked over the top button. This prevents downward movement while remaining hidden under the waistband.
-
How to Handle Missing Zipper Teeth
Missing teeth near the bottom require a new stopping point above the damaged area. Heavy thread sewn across the zipper multiple times creates this point. This shortens the zipper but maintains functionality.
How to Replace a Broken Zipper Slider
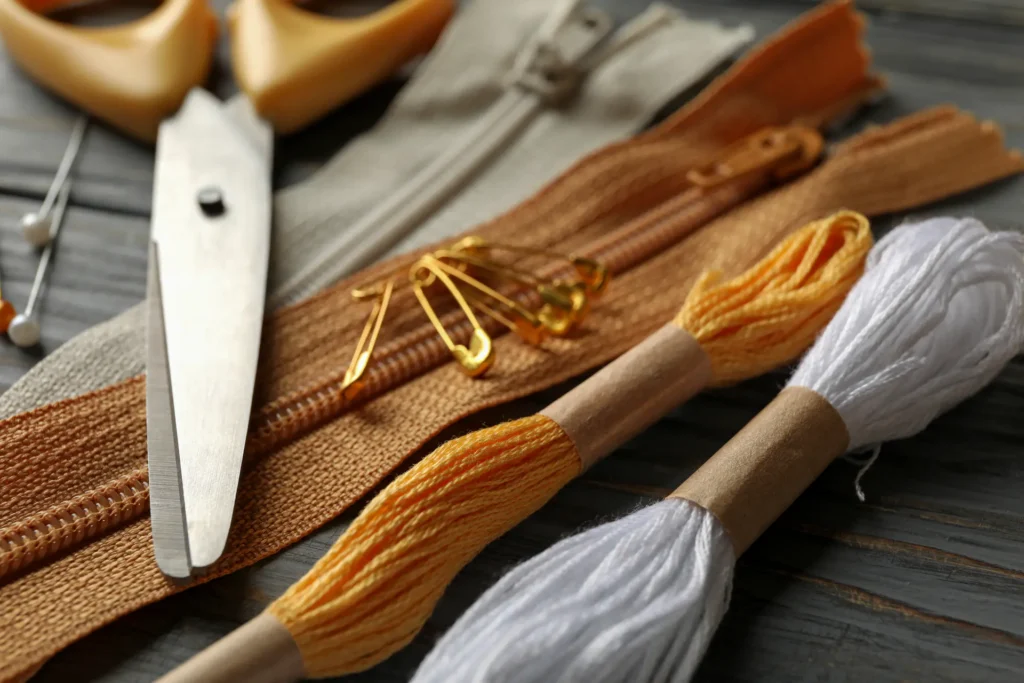
A broken zipper slider needs replacement when quick fixes no longer work. This repair restores full functionality and requires you to identify the correct replacement parts and follow a systematic process.
Tools and Materials You’ll Need
You’ll need needle-nose pliers, a replacement slider that matches your zipper size and type, and a new zipper stop. Nippers will cut stops on plastic zippers. A sewing needle and heavy thread work as alternatives for fabric stops.
-
Remove the Old Zipper Stop:
Needle-nose pliers grip the metal stop at the zipper’s top and pry it off. Pressure should be applied with care to avoid damaging the teeth or tape. Plastic stops need cutting off with nippers since they rarely reuse well. Make a small cut in the zipper tape just above the original stop if it won’t budge.
-
Take Off the Old Slider:
The damaged slider slides to the zipper’s top and pulls off the teeth. Note its orientation before removal so you can reinstall it correctly.
-
Install the New Slider:
The new slider positions onto the zipper teeth and matches the old slider’s orientation. A small pin guides teeth into the slider’s grooves when alignment proves difficult. The slider pushes down onto the teeth until it involves both sides.
-
Attach the New Zipper Stop:
A metal stop crimps at the zipper’s top with pliers. Press down but avoid excessive force that could break it. You can also thread a needle with heavy thread and make six or seven stitches across the zipper tape where the old stop sat.
-
Test Your Repair:
The slider moves up and down several times to verify smooth operation and proper tooth involvement.
Preventing Future Zipper Problems
Proper zipper maintenance prevents the need for repairs and extends garment lifespan. A few simple practices protect your investment.
-
Avoid Forcing the Zipper
Stop right away if you feel resistance. Zippers should glide smoothly, so any sluggishness signals a problem that needs attention before you continue. A stuck zipper damages teeth or pulls the slider off track if you force it. Close zippers before washing and lock sliders into position to prevent stress on components during the wash cycle. Don’t use zippers to compress overfilled bags or force garments closed over bulky layers. This puts excessive pressure on teeth and causes them to separate.
-
Keep Your Zipper Clean
Rinse zippers with fresh water after exposure to saltwater, dirt, or sand. A toothbrush works well to scrub between teeth and remove debris that causes abrasion. Zippers must dry before storing to prevent moisture-related corrosion. Candle wax or zipper-specific products help maintain smooth operation.
-
Store Clothes Properly
Garments should stay zipped to maintain tooth alignment during storage. Don’t store items while damp, as moisture promotes rust and mildew formation.
-
When to Seek Professional Repair
Professional replacement is needed if teeth are missing or tape is torn from teeth. The same goes for damaged bottom stoppers or zippers that split after closing. These problems go beyond simple slider replacement.
Conclusion
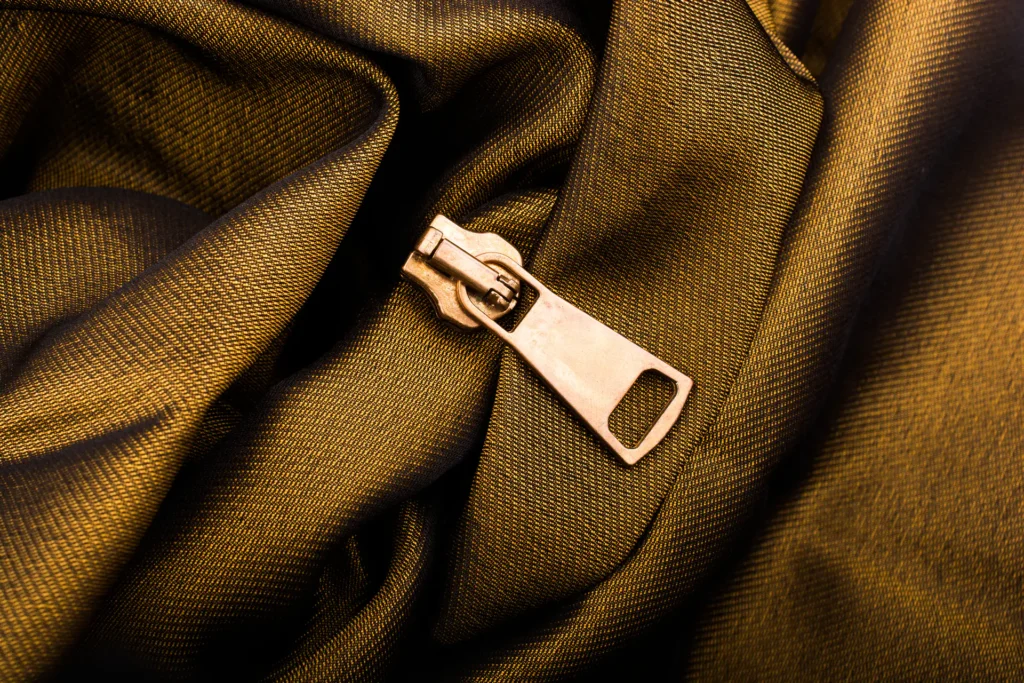
You now have everything you need to fix broken zippers and save your favorite garments from the trash. Most zipper problems require nothing more than simple household items and a few minutes of your time.
Note that prevention is your best friend. Keep zippers clean and store garments the right way. Avoid forcing them. Your repairs will extend the life of your clothes while saving money and reducing waste.
Go fix those zippers with confidence!
Contact us
📞 Phone: 07944 601228, call to book or ask questions.
✉️ Email: info@goldentailoring.co.uk
📍 Address: Second Floor, 59 Brewer Street, London W1F 9UN (Get direction)
Shop Hours: Mon–Sat 10:00–6:30; (Closed Sun)
Fix it properly, not temporarily.
Book a professional zipper repair and restore your jacket to full function with a clean, durable finish.