
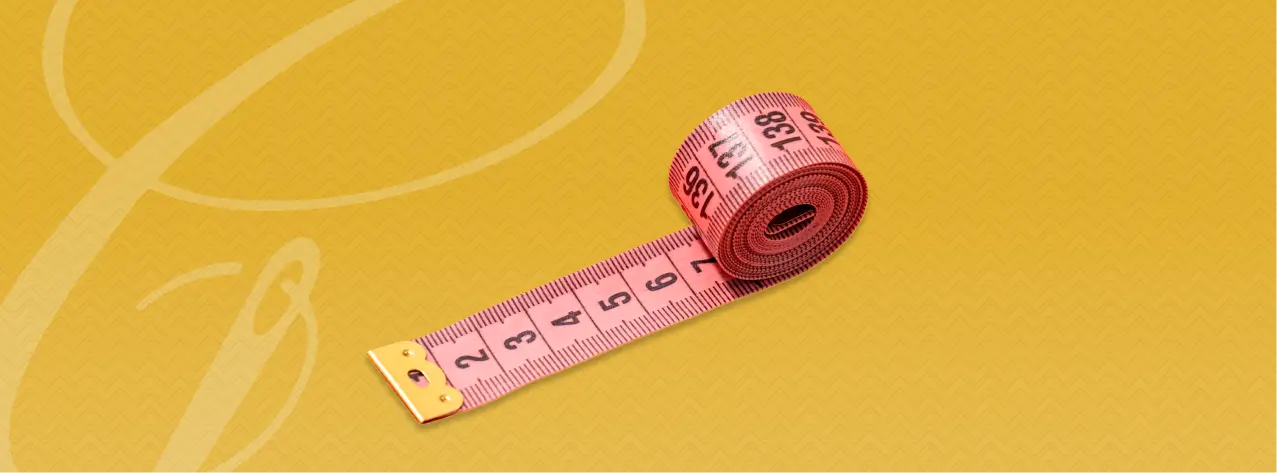
Learning how to measure a suit accurately is the foundation of achieving a perfect fit. Whether you’re shopping online or preparing for a tailor visit, knowing how to measure for a suit correctly can save you time, money, and frustration. A well-fitted suit exudes confidence and sophistication, but even small errors in measurement can throw off your entire fit.
This detailed guide walks you through every aspect of suit measurements, from chest and shoulder dimensions to trouser instead. You’ll discover the proper techniques for taking accurate measurements and learn which areas matter most for that perfect fit.
Why Accurate Suit Measurements Matter

Taking precise suit measurements ensures your garment fits comfortably and looks professional. Understanding how to measure a suit properly helps you:
- Choose the right size confidently when shopping online or in-store
- Communicate precisely with tailors about your specific requirements
- Avoid costly alterations later by getting the fit right from the start
Even a half-inch error can make the difference between a perfect fit and one that needs serious alterations.
What You Need to Measure Yourself for a Suit

Proper preparation sets the foundation for reliable suit measurements. You’ll want to gather the right tools before you start this suit measurement guide.
Getting a Flexible Measuring Tape
You need a soft, flexible measuring tape designed for tailoring. Look for one with metal or brass ends to prevent fraying and provide durability during repeated use. These tapes feature dual measurements showing both centimetres and inches, giving you flexibility when working with different suit size charts.
The standard length runs 150 cm or 60 inches — long enough to wrap around your chest and measure sleeve length without gaps. Some professional tailor’s tapes include a 10 cm metal plate at the beginning, which helps when taking measurements in hard-to-reach areas. The tape should have a thickness around 0.5 mm, making it flexible enough to contour around your body while remaining sturdy.
Finding Someone to Help (Optional but Helpful)
Having another person assist you makes measuring for a suit easier and more precise. Some measurements become challenging to take alone while maintaining proper posture. Shoulder width and jacket length are especially tricky. A helper keeps the tape level and reads measurements from the correct angle.
That said, you can measure yourself if working solo. A full-length mirror helps you check tape placement and alignment for those difficult back measurements.
Wearing the Right Clothing
You should wear close-fitting clothing or just underwear when taking your body measurements. Loose, bulky shirts distort the numbers and lead to an ill-fitting suit. Put on a dress shirt first if you’re measuring for a suit jacket — your jacket needs to fit comfortably over one.
Wear socks rather than shoes for trouser measurements. This lets you visualise where the hem will sit once you add dress shoes later.
Having a Pen and Paper Ready
Keep a notebook, pen, or your phone nearby to record each measurement immediately. Write down numbers as you go to prevent confusion and eliminate the need to re-measure.
How to Measure for a Suit Jacket
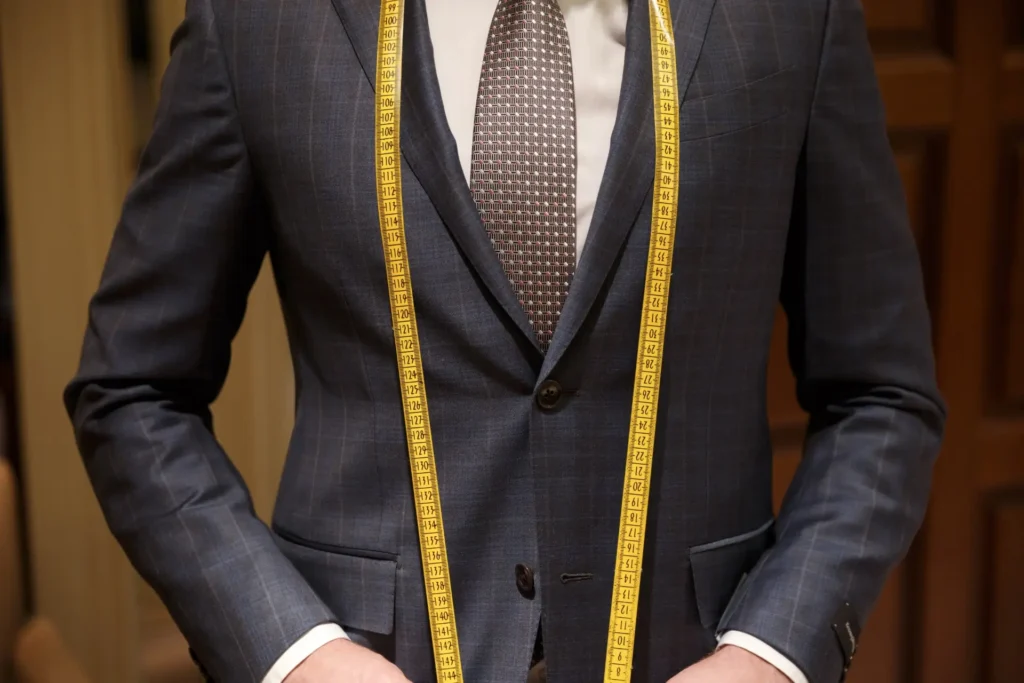
Measuring suit jacket dimensions requires specific techniques for each area. Each measurement determines how well your upper body garment fits.
Measuring Your Chest
Wrap the measuring tape around the fullest part of your chest, positioning it under your armpits and across your shoulder blades. The tape should line up with your nipples and stay parallel to the floor throughout. Stand upright with your arms relaxed at your sides.
Take a deep breath to ensure comfort, but avoid puffing out your chest. The tape needs to be snug without pulling tight against your body. Leave enough space for two or three fingers to slide underneath comfortably.
Measuring Your Shoulders
Place the measuring tape where the shoulder seam meets the sleeve on one side. Measure straight across your back to the corresponding point on the opposite shoulder. The tape should follow the natural curve of your upper back rather than cutting a straight line. This point-to-point measurement sits just below where your collar would rest.
Measuring Sleeve Length (Crown to Cuff)
Start at the top of your shoulder where the shoulder seam meets the arm. Let your arm hang at your side without tension. Run the tape down the outside of your arm to your wrist bone, following the natural curve of your arm.
Measure to where you want the sleeve to end, which is typically at the base of your thumb when your arm hangs naturally at your side.
Measuring Jacket Length
Lift your collar to expose the back seam. Position the tape where the shoulder seam meets the collar seam at the centre back. Measure down to your desired jacket length, which usually falls around the base of your thumb when your arm hangs at your side.
Stand with even weight distribution and shoulders level throughout the measurement.
Measuring Your Waist
Locate your natural waist by bending to one side — the crease that forms indicates your natural waistline. Wrap the tape around this narrow section above your hips and below your chest. Keep the tape parallel to the floor and pull it firm but not tight.
Measuring Your Neck
Place the tape around the base of your neck where a collar would sit, right above your collarbone. Insert one finger between your neck and the tape for a comfortable measurement. Stand relaxed and look straight ahead rather than down at the tape.
Key Measurements Summary Table
| Measurement | Description | Ideal Measuring Point |
|---|---|---|
| Chest | Around fullest chest part | Under armpits, snug but comfortable |
| Waist | Natural waistline | Above belly button, below chest |
| Sleeve Length | Shoulder to wrist bone | Start at shoulder seam |
| Jacket Length | Base of neck to desired hem | Usually mid-crotch level |
| Shoulder Width | Shoulder seam to shoulder seam | Across back, avoid rounding shoulders |
How to Measure for Suit Trousers
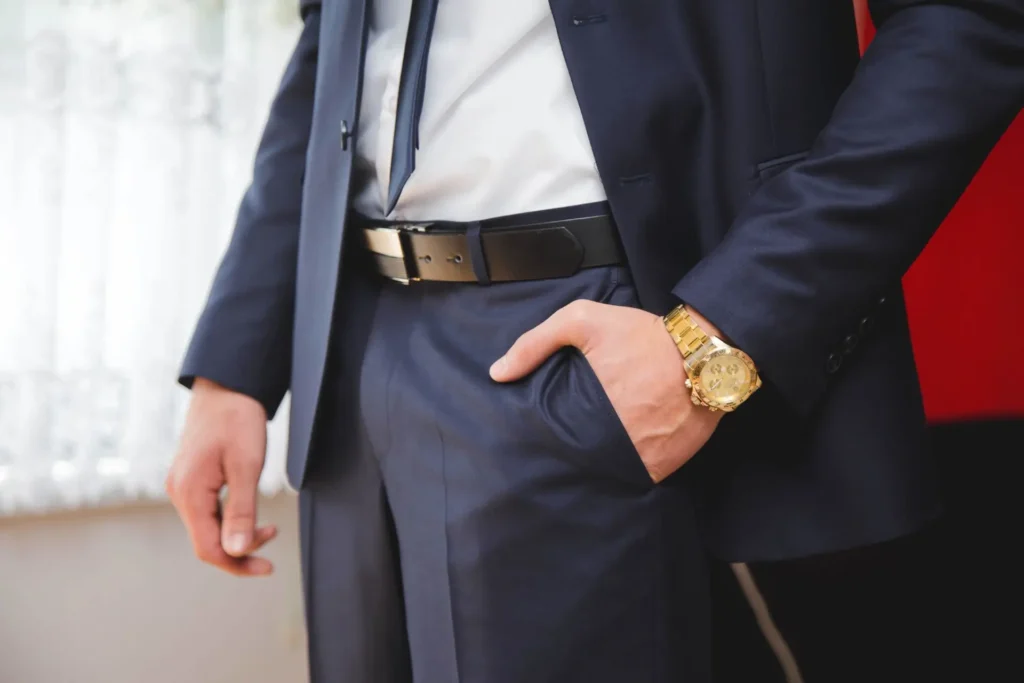
Trouser measurements complete your suit fitting process. Each measurement affects how your trousers drape and where they sit on your body.
Measuring Your Trouser Waist
Locate your natural waistline just above your hipbones where the trouser waistband will sit. This differs from where jeans rest — suit trousers sit higher. Wrap the tape snug around your waist and keep it parallel to the ground. The tape should feel comfortable without pulling tight.
This measurement sits higher than casual wear and must allow a waistcoat to meet the trouser top cleanly.
Measuring Your Hips and Seat
Stand with your feet parallel. Wrap the tape around the fullest part of your hips, ensuring it passes over your seat. Keep the tape level and snug without constricting. Your trousers will strain across the seat if this measurement runs too small, causing pockets to gape.
Measuring Inside Leg Length
Start at the inner thigh right at the crotch. Extend the tape down to where your trousers will rest on your shoe. This measurement defines the break — that subtle fold where the cuff meets the shoe. Wear the specific shoes you plan to wear with your suit for accuracy.
Measuring Outside Leg Length
Measure from the top of your waist down to the base of your shoe, not including the heel.
Measuring Your Thigh
Wrap the tape around the thickest part of your thigh just below the crotch. This prevents tightness in the leg and ensures comfortable movement.
Tips for Taking Accurate Suit Measurements
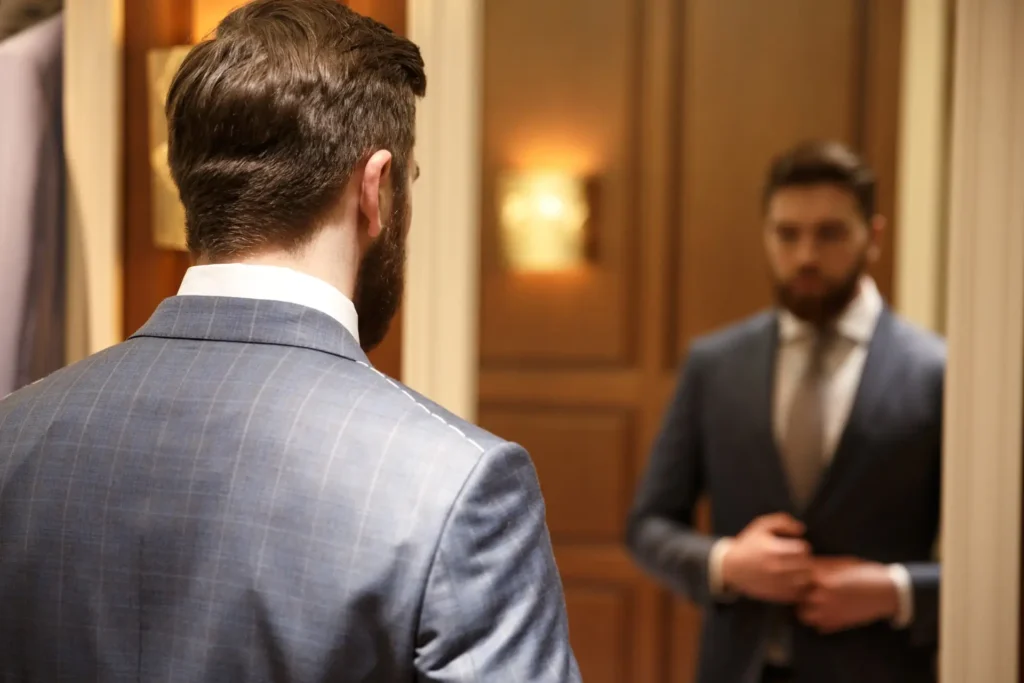
Precise measurements need more than just knowing where to place the tape. These practical tips prevent common errors that cause ill-fitting suits.
Measure Three Times for Consistency
Perform each measurement three times to ensure accuracy. Multiple readings reveal inconsistencies and provide reliability when you compare them. Take each measurement twice at minimum to avoid inaccuracies, then average the results for true consistency.
Don’t Pull the Tape Too Tight
The tape should lie flat against your body without compressing it. Too much tension yields compressed numbers and creates a jacket that feels restrictive across the chest and back. You should be able to slide one finger comfortably between the tape and your body.
Stand Naturally Without Tensing
Stand in a relaxed manner and avoid sucking in your stomach. When you measure for a suit, it needs to fit the real you, not a forced stance that feels unnatural. Men tend to breathe in during measurement, so stay relaxed and breathe normally.
Round to the Nearest Half Inch
Round all final measurements to the nearest half inch. Even a half-inch error makes the difference between a perfect suit fit and one that needs serious alterations.
Professional Consultation Available
Pro Tip: Even with accurate self-measurements, a professional fitting catches things a tape measure misses — posture, movement, and fabric behaviour. At Golden Tailoring & Alterations in Piccadilly Circus, we offer fit assessments to review your measurements and ensure the best possible outcome.
Frequently Asked Questions
What tools do I need to measure myself for a suit?
You’ll need a flexible measuring tape (preferably 60 inches long with dual measurements), a pen and paper to record your measurements, and close-fitting clothing or just underwear. While optional, having someone assist you can make the process easier and more accurate, especially for hard-to-reach measurements like shoulder width and jacket length.
How should I position the measuring tape when measuring my chest?
Wrap the tape around the fullest part of your chest, positioning it under your armpits and across your shoulder blades at nipple level. Keep the tape parallel to the floor, stand upright with relaxed arms, and ensure the tape is snug but not tight — you should be able to fit two or three fingers underneath comfortably.
Where exactly should I measure for sleeve length?
Start at the top of your shoulder where the shoulder seam meets the arm, let your arm hang naturally at your side, and run the tape down the outside of your arm following its natural curve to your wrist bone. The measurement should typically end at the base of your thumb when your arm is relaxed.
How many times should I take each measurement to ensure accuracy?
Take each measurement at least twice, ideally three times, to ensure consistency and accuracy. Compare the readings to identify any inconsistencies, and consider averaging the results. This practice helps catch errors that could lead to an ill-fitting suit.
What’s the difference between measuring trouser waist and regular waist?
Your trouser waist sits at your natural waistline, just above your hipbones, which is higher than where casual jeans typically rest. This positioning allows the waistband to sit properly and ensures a waistcoat can meet the trouser top cleanly for a polished, professional appearance.
Conclusion
You now have everything you need to measure yourself for a suit with precision. Remember that accuracy matters more than speed when taking chest and shoulder measurements. Follow these techniques and measure multiple times for consistency to get reliable numbers that translate into a perfect suit fit.
Once you have your measurements, a professional tailor can assess whether any adjustments are needed and help you achieve that sharp, professional look you deserve. If your measurements reveal a gap between your body and an off-the-rack suit, Golden Tailoring & Alterations can close it, from a simple hem to a full reshape. Visit us in Piccadilly Circus or call for a free consultation to discuss how we can help you achieve the perfect fit.
Contact us
📞 Phone: 07944 601228, call to book or ask questions.
✉️ Email: info@goldentailoring.co.uk
📍 Address: Second Floor, 59 Brewer Street, London W1F 9UN
Shop Hours: Mon–Sat 10:00–6:30; (Closed Sun)
Ready for a perfect fit?
Book your appointment today and see why we’re considered the go-to tailor in Soho. Your clothing deserves Golden Tailoring & Alterations quality.